From Screen to Frame: Why Your Photos Print Blurry (and How to Fix It)
Ever wonder why a photo that looks perfect on your phone turns into a pixelated mess when printed? Discover the secret of DPI and how AI upscaling saves your physical prints.
Author
Alex May
Published
Reading time
5 min read
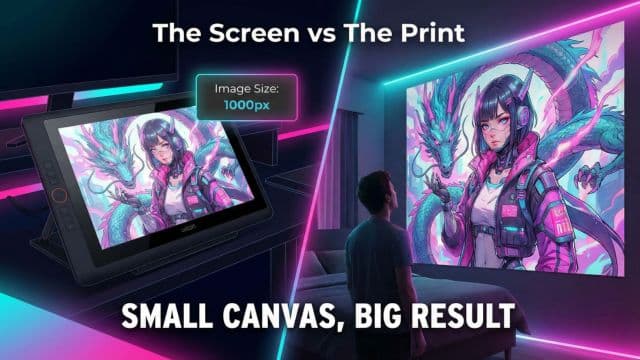
You’ve finally caught that perfect moment—a sunset over the mountains, or a candid laugh at a birthday party. On your phone screen, it looks crystal clear. You decide it’s worthy of a spot on your living room wall, so you send it to the printer.
But when the physical copy arrives, the magic is gone. The sharp edges are fuzzy, the vibrant details are replaced by blocks of color, and the whole image looks like a low-resolution ghost of the original.
Why does this happen? And more importantly, how can you ensure your physical prints look just as premium as your digital memories?
The DPI Gap: Screen vs. Paper
The culprit is a technical concept called DPI (Dots Per Inch).
Digital screens are incredibly forgiving. Most smartphones and laptops only need about 72 to 150 pixels per inch to look sharp to the human eye. Because the screen provides its own light, our brains "fill in" the gaps between pixels easily.
Physical printing is a different story. To get a "professional" look on paper or canvas, printers generally require 300 DPI. That means you need twice as much visual information for a print as you do for a screen of the same size.
When you take a "good looking" digital photo and try to blow it up into an 8x10 or 16x20 frame, you are essentially stretching those limited pixels until they break. This is where the "pixelation" and "blur" come from.
Upscale Photos
Ready to see your photos in high definition? Upscale your favorites for free.
Why Traditional Resizing Doesn't Work
In the past, if you had a small photo and needed it to be big, you used "interpolation." Your computer would look at two pixels and try to "guess" what color should be between them.
The result? A smoother image, yes, but a much blurrier one. You weren't adding detail; you were just adding smudge.
The AI Solution: Intelligent Upscaling
This is where AI Upscaling changes the game. Unlike traditional resizing, our AI doesn't just "guess." It has been trained on millions of high-resolution professional photographs.
When you run a photo through the Upscale tool, the AI analyzes the textures—the weave of a shirt, the iris of an eye, the blade of a grass—and reconstructs the missing detail. It literally builds a higher-resolution version of your photo from the ground up.
Practical Comparisons
See the difference between a simple digital zoom and an AI-powered upscale in this 1:1 comparison:
Example: The Detail Test
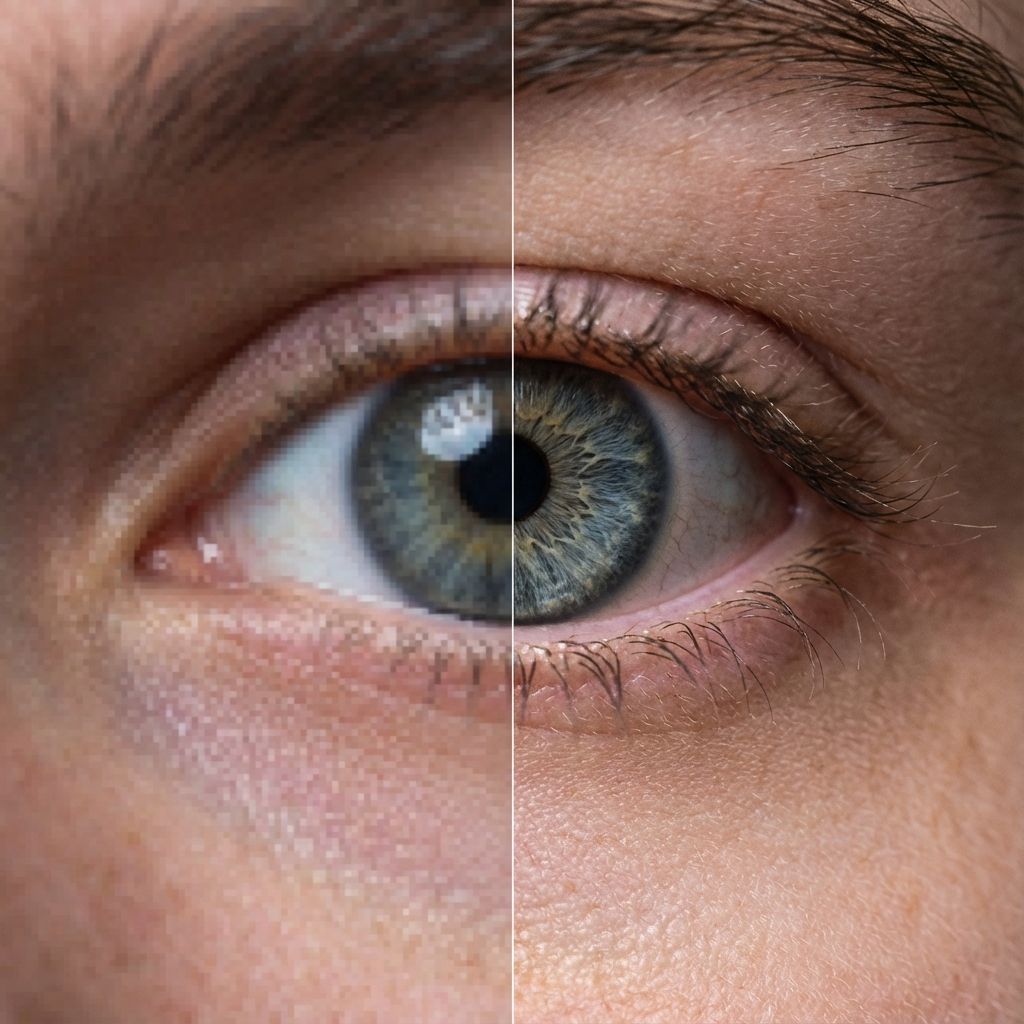
The Problem: Traditional digital zoom (left) results in muddy, pixelated details that fail on paper. AI Upscaling (right) restores the raw emotion and clarity of the moment, making it wall-ready.
Tips for the Perfect Print
To get studio-quality results every time, follow this simple workflow:
- Start High: Always use the original file from your camera, not a compressed version sent via WhatsApp or social media.
- Upscale First: Before sending your file to the printer, run it through the 10X Upscaler. This ensures you have the 300 DPI headroom needed for large formats.
- Check the Edges: AI upscaling works best on clean, well-lit photos. If your original is extremely dark, try the Unblur tool first to recover details before upscaling.
Frequently Asked Questions
Can I upscale an old, scanned polaroid?+
What is the best format for printing?+
Does upscaling change the colors of my photo?+
Conclusion
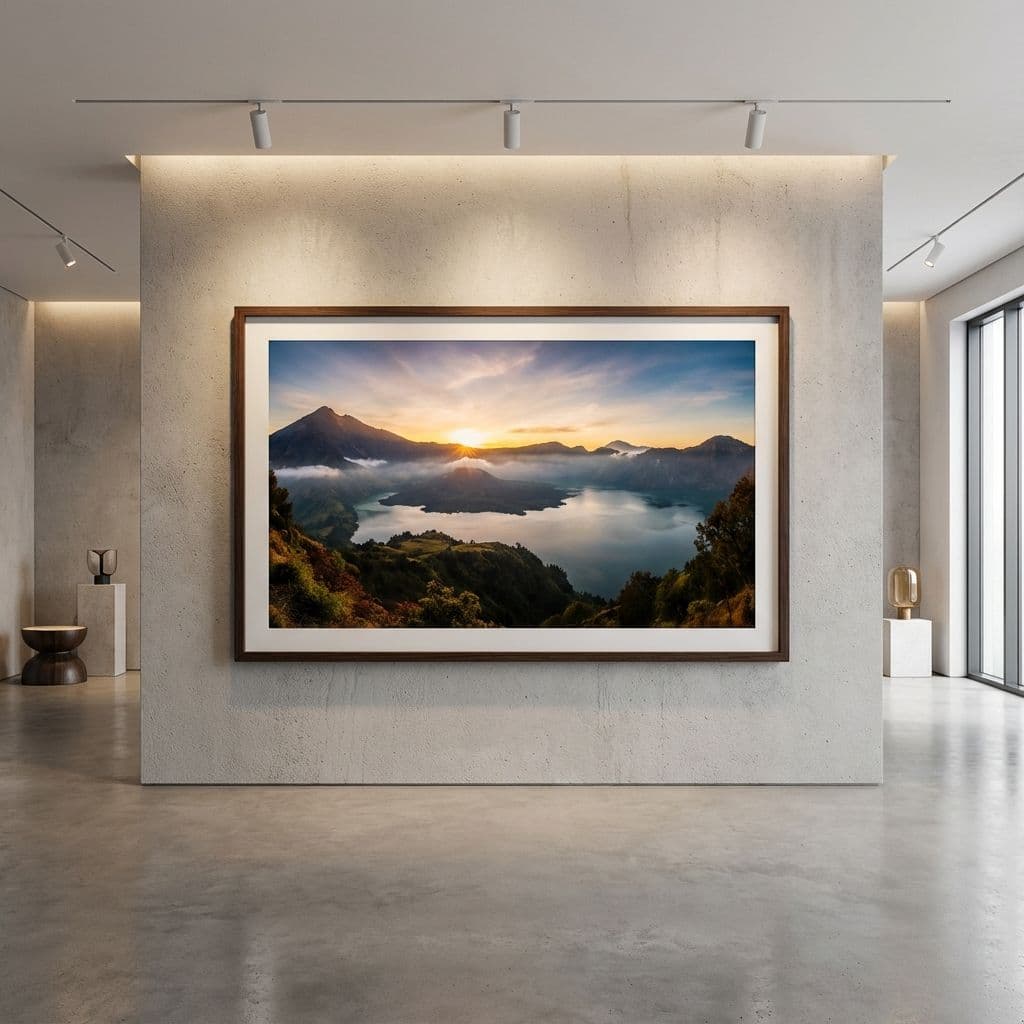
A beautiful memory deserves a beautiful presentation. Don't let technical limitations like DPI prevent you from turning your digital gallery into a physical one.
With AI Upscaling, the gap between your screen and your frame is finally closed. Try it on your next "wall-worthy" photo and see the professional difference for yourself.
Upscale Photos
Stop settling for blurry prints. Try the 10X Upscale tool today.